Grinding burn on industrial blades is more than a cosmetic colour change. It may show that the steel surface reached a temperature high enough to alter hardness, create residual stress or initiate cracks. On granulator knives, shredder blades, shear knives and other cutting tools, an edge can look sharp yet fail prematurely if grinding has damaged its surface layer.
This guide explains what happens, which signs to inspect and how to organise prevention. It does not replace the instructions supplied by the steel, wheel or grinding-machine manufacturer: suitable parameters depend on alloy, hardness, geometry, machine condition and coolant delivery.
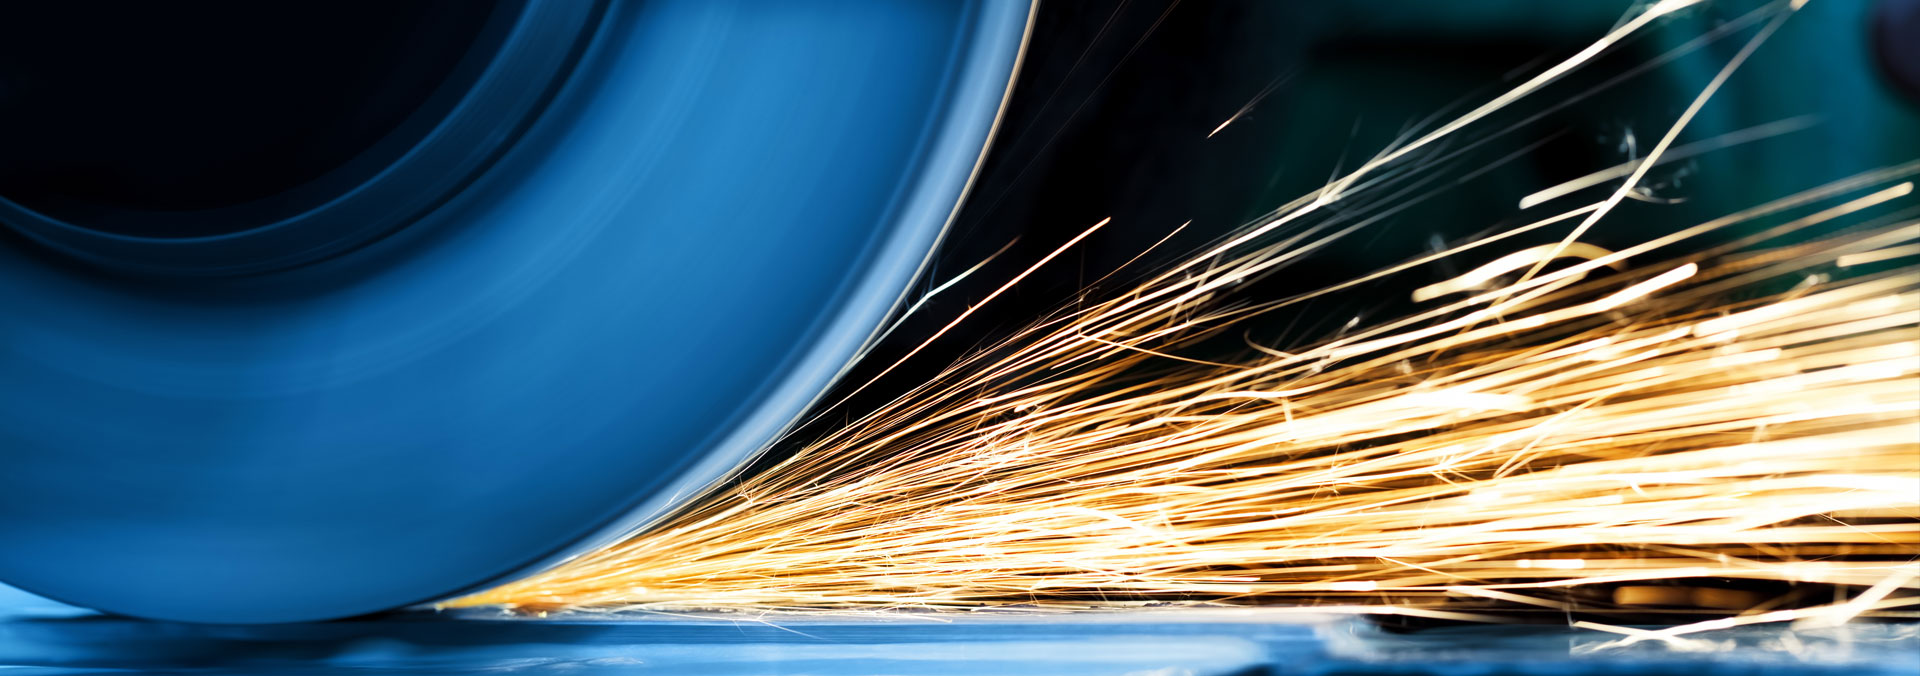
What is grinding burn?
Grinding produces heat in a very small contact zone. When sharp abrasive grains remove material efficiently, coolant reaches the interface and the cut is appropriate, the heat can be carried away. When a wheel is glazed or loaded, too much stock is removed, feeds are excessive or coolant misses the interface, surface temperature can rise rapidly.
The Uddeholm technical guide to grinding tool steel describes two levels of metallurgical damage. Moderate overheating can overtemper the surface and lower its hardness. More severe heating can reaustenitise the layer; rapid cooling may then produce untempered martensite and retained austenite. The resulting stress creates a serious risk of grinding cracks.
Warning signs to look for
Surface discolouration
Yellow, brown, blue or purple bands after grinding are a warning that local heating occurred. Colour helps locate suspect areas but does not, by itself, reveal damage depth or hardness loss. Conversely, no visible colour does not prove that the surface is sound, especially after cleaning or a finishing pass.
Grinding cracks
Grinding cracks commonly run roughly perpendicular to the grinding direction. Very fine cracks may require magnification, microscopy or magnetic-particle inspection on ferromagnetic steels. Uddeholm notes that a tool containing grinding cracks normally has to be scrapped. Additional grinding is not a dependable repair unless a qualified specialist proves that the complete affected zone has been removed.
Hardness and service behaviour
An overtempered soft band may lose its edge quickly, while a re-hardened brittle layer may chip. If a problem recurs, compare surface and subsurface hardness, examine the microstructure and record where the damage started. Use an appropriate test method and qualified personnel; a portable reading taken on a rough bevel can be misleading.
Common workshop causes
- Glazed or loaded wheel: abrasive grains rub instead of cutting efficiently, generating excess heat.
- Unsuitable wheel specification: a wheel that is too hard, or an abrasive unsuitable for the steel, may not self-sharpen correctly.
- Excessive downfeed or crossfeed: removing too much stock increases energy in the contact zone.
- Incorrect wheel speed: excessive peripheral speed for the actual combination can promote burning.
- Poor coolant delivery: low flow, a badly aimed nozzle, contamination or an air barrier around the wheel prevents fluid reaching the cut.
- Poor dressing or imbalance: both reduce cutting efficiency and can cause local hot spots.
The troubleshooting table published by Norton Abrasives links burning to glazed or loaded wheels, poor coolant application, excessive stock removal or feed, high speed and a wheel that is too hard. The remedy is a disciplined review of the process, not one universal setting.
How to prevent burn when sharpening blades
1. Identify the steel and its condition
Document steel grade, hardness, heat treatment, blade geometry and stock allowance before grinding. High-carbide, wear-resistant steels can be more difficult to grind. An original knife and a compatible replacement may need different parameters if they do not share the same steel, hardness and heat treatment; the machine brand alone cannot define the grinding process.
2. Select and maintain the wheel
Choose abrasive type, grit size, grade and structure using the wheel and steel makers’ recommendations. Dress the wheel before cutting ability falls. An open, sharp surface removes material with less rubbing. Check mounting, flanges, balance and wheel condition, and never exceed the marked maximum operating speed.
3. Control coolant delivery
Aim the nozzle at the entry to the wheel-workpiece contact, maintain stable flow, and monitor fluid concentration, filtration and temperature. Coolant must enter the cutting zone; merely wetting the blade away from the contact does not control surface temperature. Remove metal fines that could recirculate and scratch the bevel.
4. Use conservative passes and record the process
Reduce downfeed and crossfeed if heat, colour, unusual noise or unstable sparks appear. Avoid unnecessary dwell or prolonged spark-out. Record wheel specification, dressing interval, stock removal, number of passes, coolant condition and inspection results. This history makes it possible to connect a later failure with an actual process change.
Inspection checklist before release
- Clean the surface without hiding discolouration, cracks or grinding marks.
- Inspect the complete edge and transitions under oblique light and magnification.
- Check straightness, thickness, bevel angle and burr removal.
- Measure hardness when softening or re-hardening is suspected.
- Use an appropriate non-destructive crack test when risk warrants it.
- Document results and remove any blade with confirmed cracks from service.
When to request specialist assessment
Stop installation when there is strong discolouration, cracking, new chipping, distortion or abnormal hardness variation. Uneven edge life across blades from the same set also deserves investigation. A structured diagnosis separates grinding problems from operating causes such as metal contamination, incorrect knife clearance, vibration or irregular feeding.
Sharp Industrial provides industrial blade sharpening and grinding services and supplies industrial knives, spare parts and wear parts for different applications. For assessment, provide drawings or dimensions, processed material, wear photographs and machine information. Request a technical review and quotation before reusing a blade that may have thermal damage.